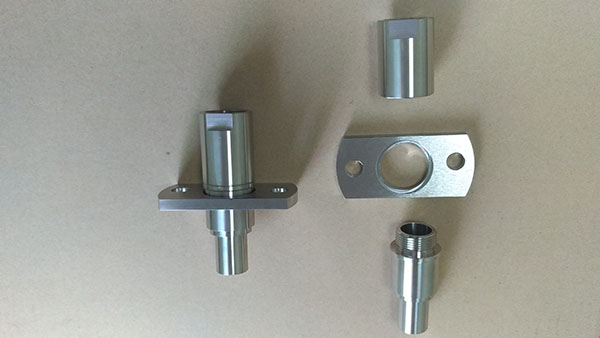
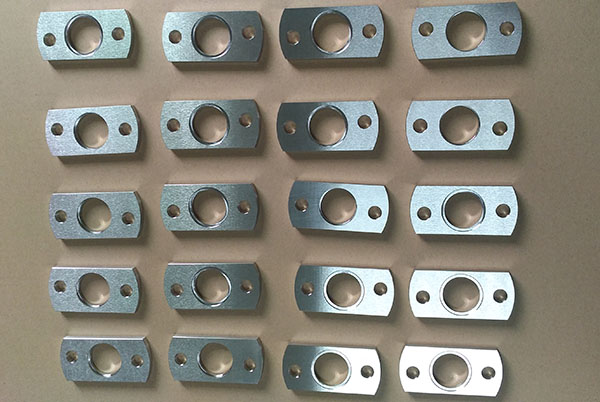
Pay attention on the tolerance of custom machiend components
Concerning the tolerance of machined components, generally, the dimensional tolerance is determined first, and then the shape and position tolerance is determined. When we design the machined components, for the reasonable tolerance. We should consider the function needs first. The second is the processing technology, the last is the assembly and maintenance technology.
For example, assembly hole and shaft, it is not only a round hole and shaft, can be square, but we usually use round, because the convenient processing. Traditional processing methods such as turning, milling, drilling and grinding,most of the circular processing. Now with the popularity of laser cutting and wire cutting, the application of special-shaped hole is also more. At the same tolerance level, the processing cost of square hole is higher than round hole.
Since the traditional method of processing is circular processing, the choice of hole and shaft will have a basic hole system and basic shaft system. Generally, we can get hole by drilling,reaming,and milling. For convenient machining,we should choose to have readily available tools (drill, reamer,cutter) size, such as the diameter 14mm of cutting tool are very rare,we can choose 12mm,15mm or 16mm diameter of cutting tools,which is a conveninet purchase specifications. In this way, the manufacturing cost is very low. For example,choose diameter 30mm not 27mm, although your computing needs 27mm.
The fit of hole and shaft includes clearance fit,transition fit and interference fit.
1) If one-way intermittent operation and rotation displacement requires with low precision, low speed with flat key match. We can choose clearance fit, but need to have two screw at 90 degrees set positioning.
2) If it is one-way intermittent rotation,or forward and reverse motion, choose the transition fit, but also need to have a set screw.
3) If it is to transfer large torque,then choose interference fit,which usually requires pressure assembly or hot sleeve assembly.
The form and position tolerance is the supplement of the dimensional tolerance, so the selection of the tolerance zone should be less than the dimensional tolerance.
For a machined components, the width of tolerance is 0.2mm. If require the parallelism of the both sides surface, it requires less than 0.2mm. Most of the time, the width of the tolerance request is not high, but the parallelism requirement is high. May is 0.05mm. So that the parallel is very important, usually influnece on assembly.


